Supplemental: Using Git from RStudio
Last updated on 2025-06-24 | Edit this page
Estimated time: 10 minutes
Overview
Questions
- How can I use Git with RStudio?
Objectives
- Understand how to use Git from RStudio.
Version control can be very useful when developing data analysis scripts. For that reason, the popular development environment RStudio for the R programming language has built-in integration with Git. While some advanced Git features still require the command-line, RStudio has a nice interface for many common Git operations.
RStudio allows us to create a project associated with a given directory to keep track of various related files. To be able to track the development of the project over time, to be able to revert to previous versions, and to collaborate with others, we version control the Rstudio project with Git. To get started using Git in RStudio, we create a new project:
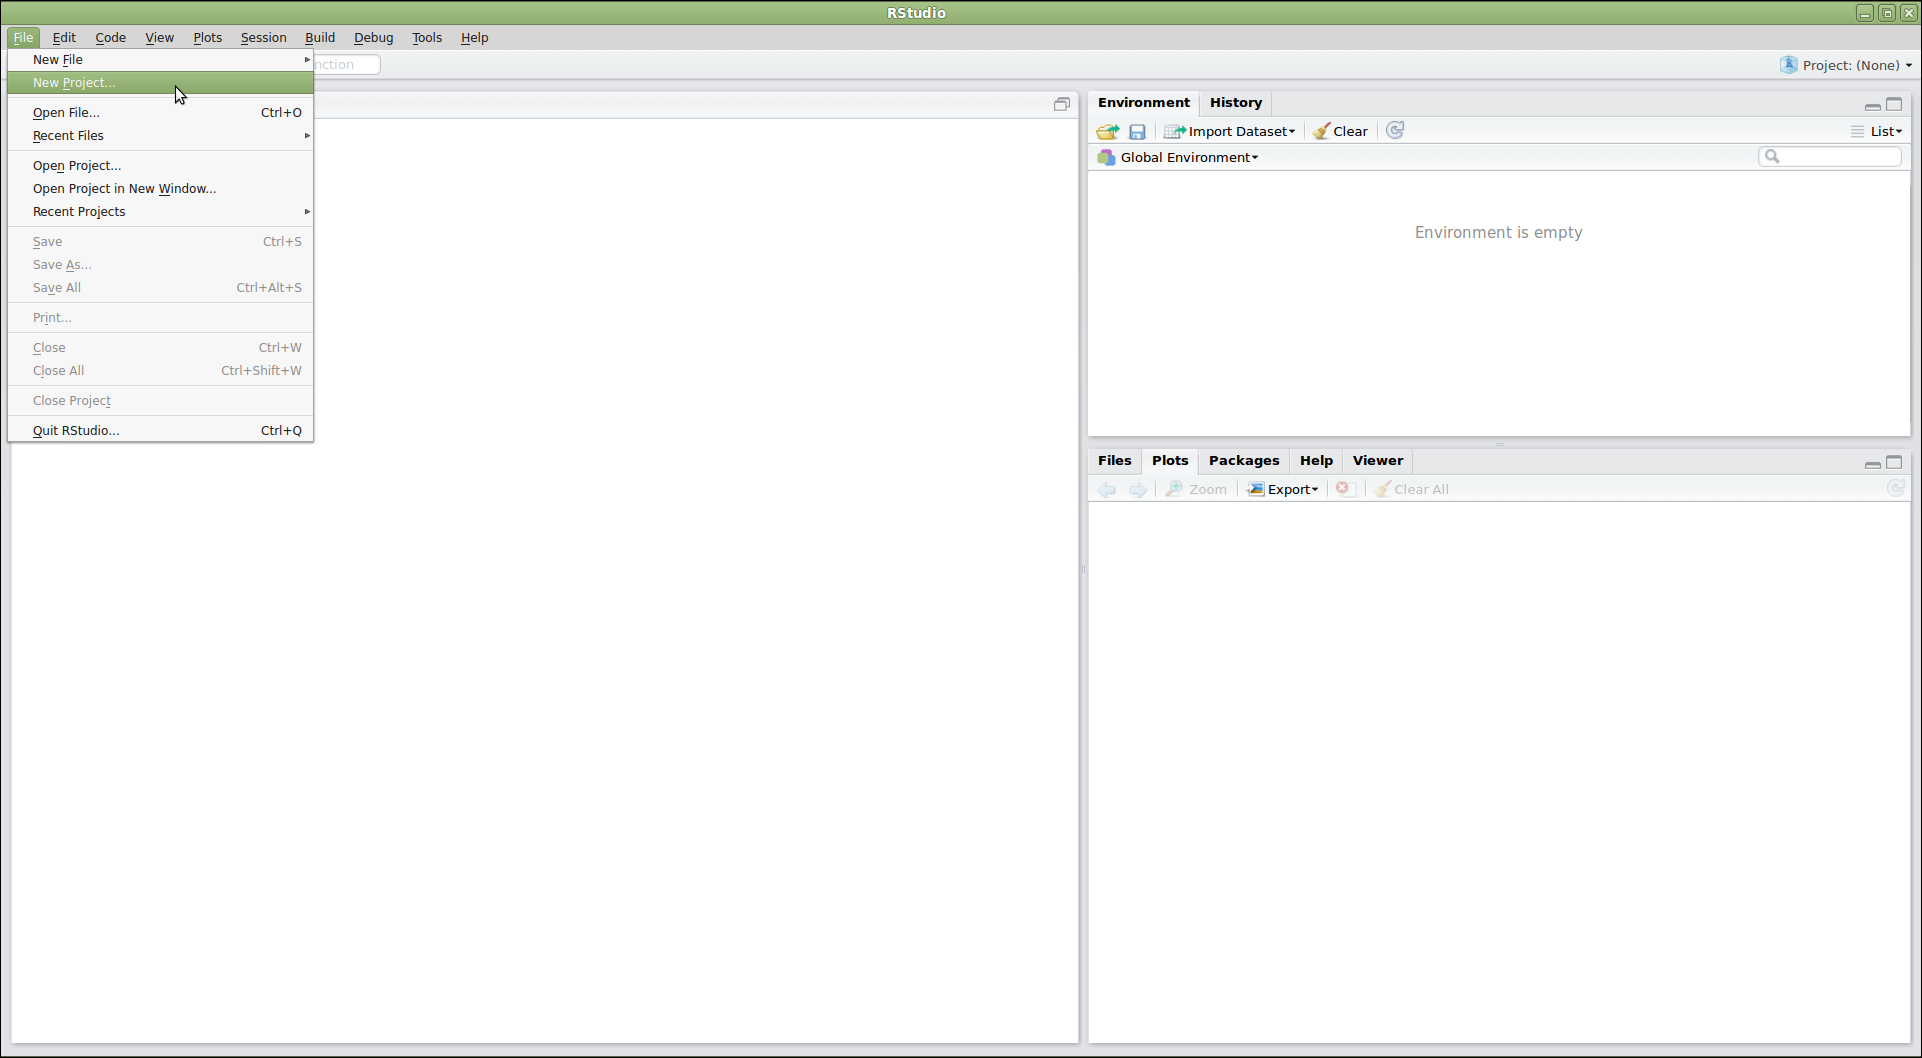
This opens a dialog asking us how we want to create the project. We have some options here. Let’s say that we want to use RStudio with the recipes repository that we already made. Since that repository lives in a directory on our computer, we choose the option “Existing Directory”:
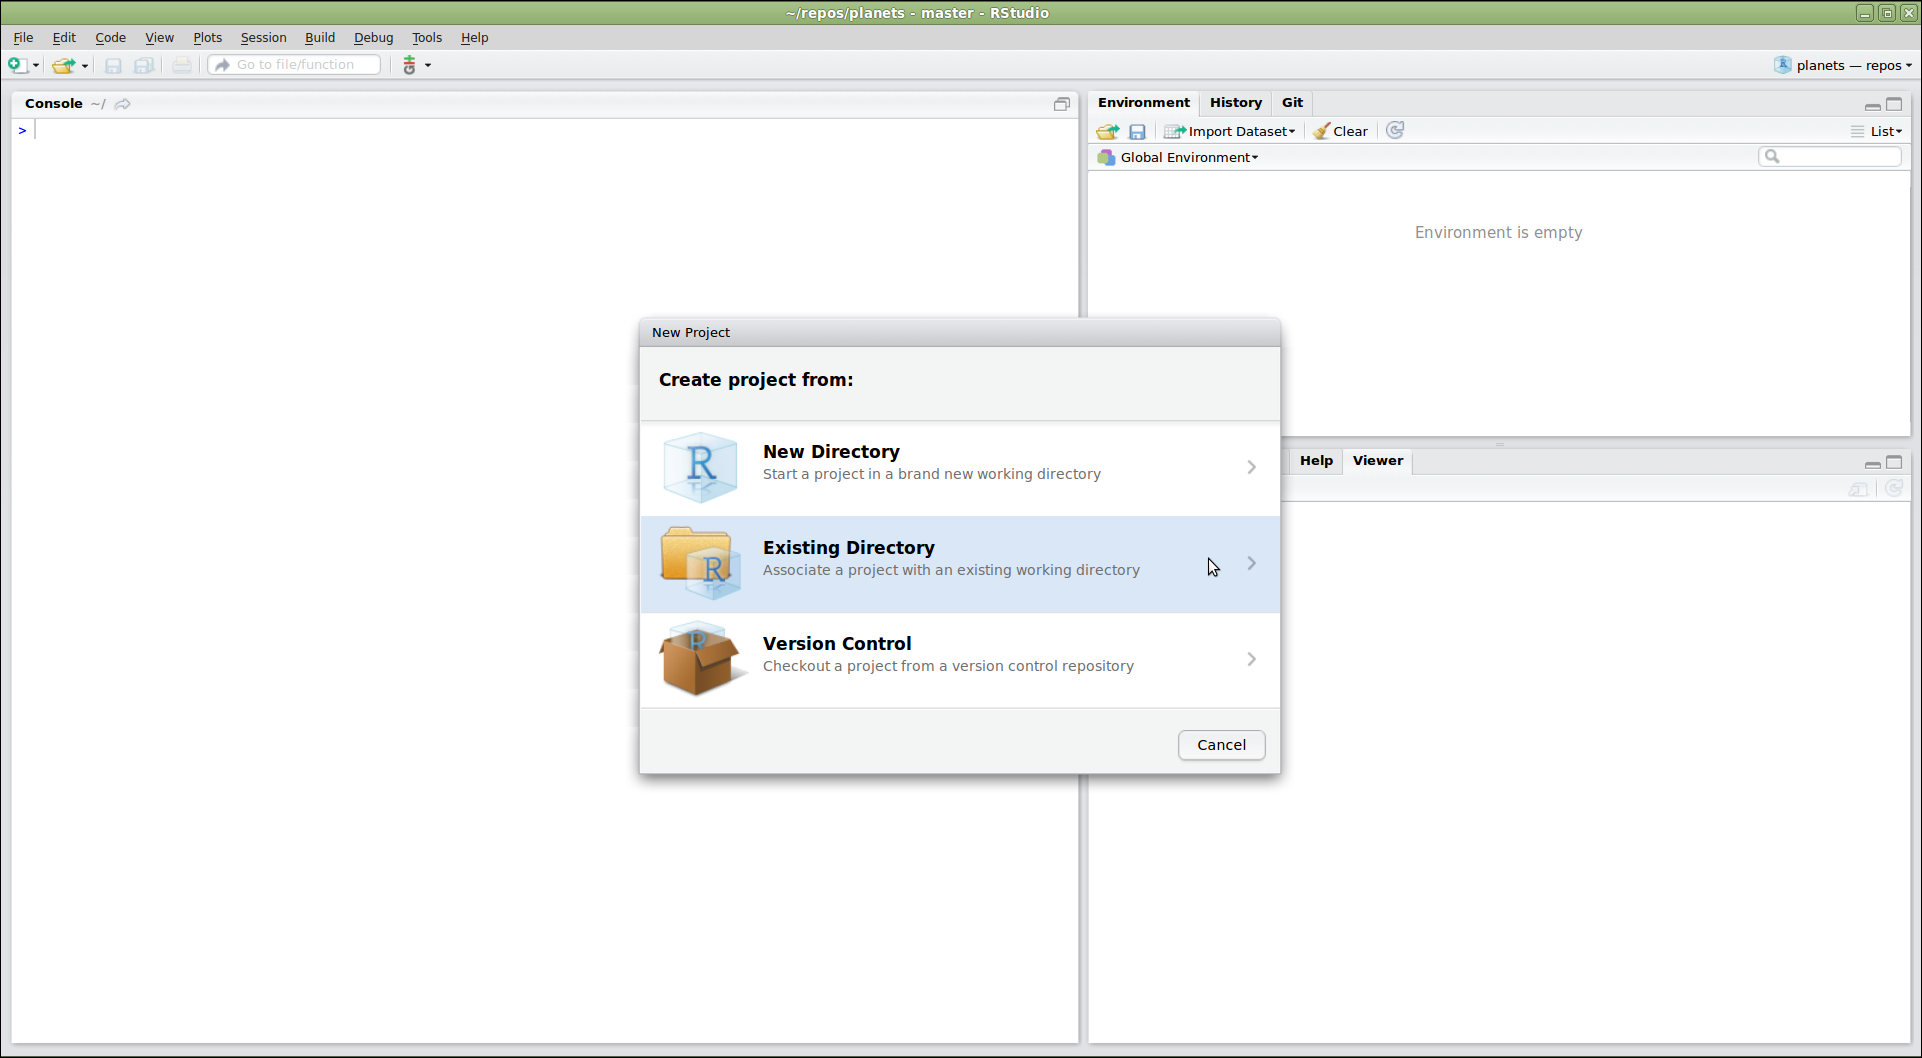
Do You See a “Version Control” Option?
Although we’re not going to use it here, there should be a “version control” option on this menu. That is what you would click on if you wanted to create a project on your computer by cloning a repository from GitHub. If that option is not present, it probably means that RStudio doesn’t know where your Git executable is, and you won’t be able to progress further in this lesson until you tell RStudio where it is.
Find your Git Executable
First let’s make sure that Git is installed on your computer. Open your shell on Mac or Linux, or on Windows open the command prompt and then type:
-
which git(macOS, Linux) -
where git(Windows)
If there is no version of Git on your computer, please follow the Git
installation instructions in the setup of this lesson to install Git
now. Next open your shell or command prompt and type
which git (macOS, Linux), or where git
(Windows). Copy the path to the git executable.
On one Windows computer which had GitHub Desktop installed on it, the
path was:
C:/Users/UserName/AppData/Local/GitHubDesktop/app-1.1.1/resources/app/git/cmd/git.exe
NOTE: The path on your computer will be somewhat different.
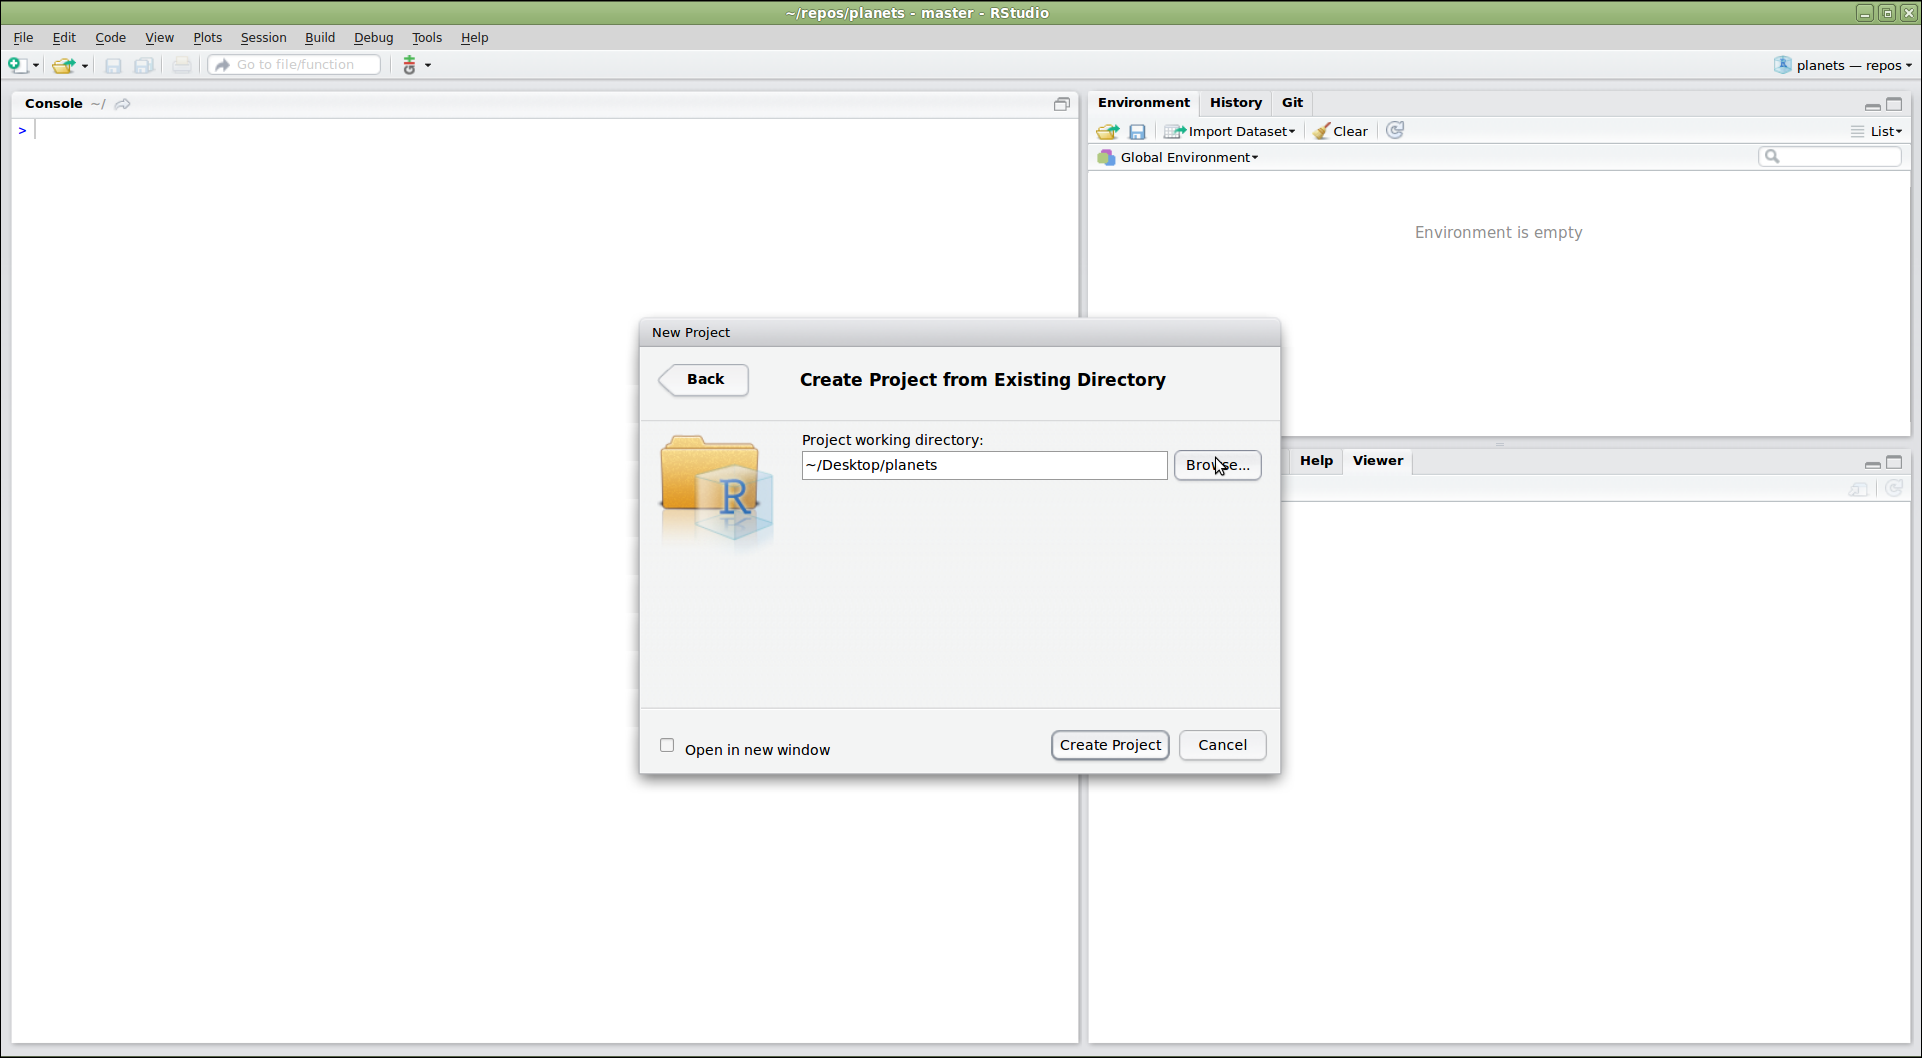
Next, RStudio will ask which existing directory we want to use. Click “Browse…” and navigate to the correct directory, then click “Create Project”:
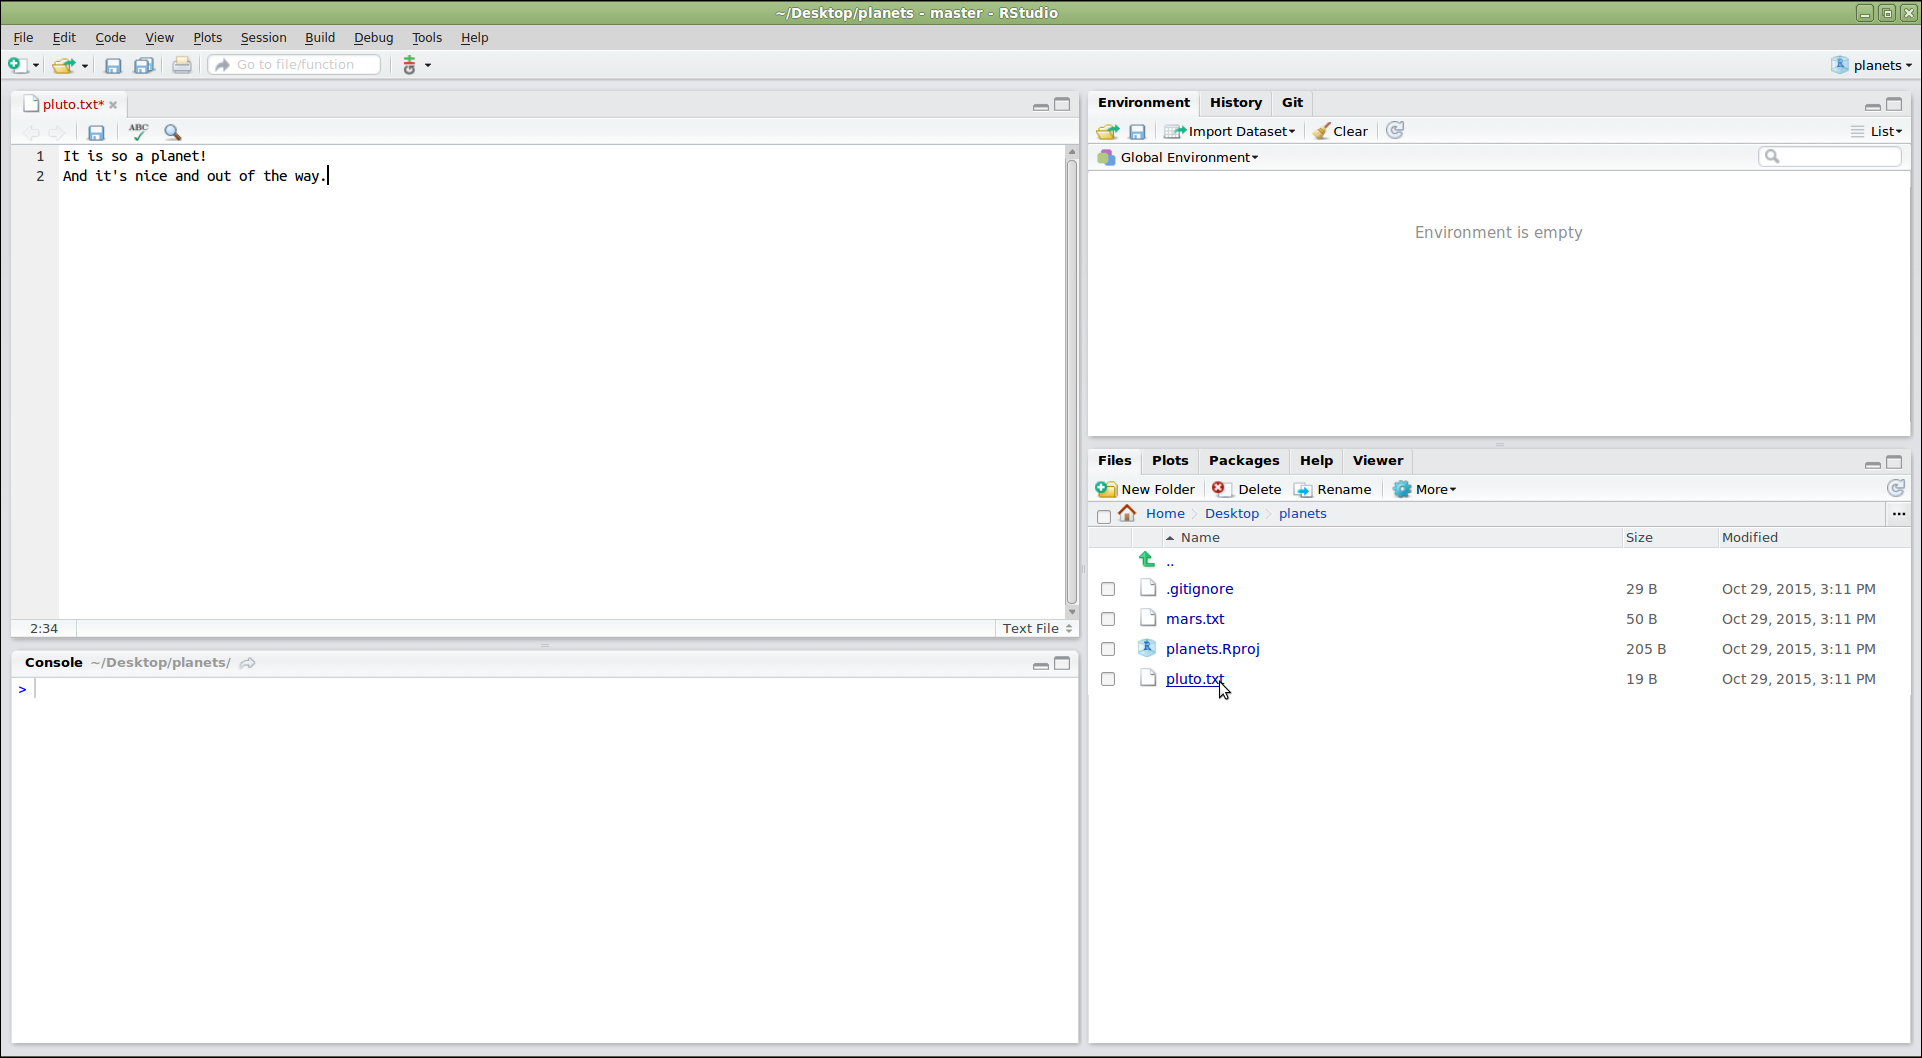
Ta-da! We have created a new project in RStudio within the existing recipes repository. Notice the vertical “Git” menu in the menu bar. RStudio has recognized that the current directory is a Git repository, and gives us a number of tools to use Git:

To edit the existing files in the repository, we can click on them in the “Files” panel on the lower right. Now let’s add some additional information about Hummus:
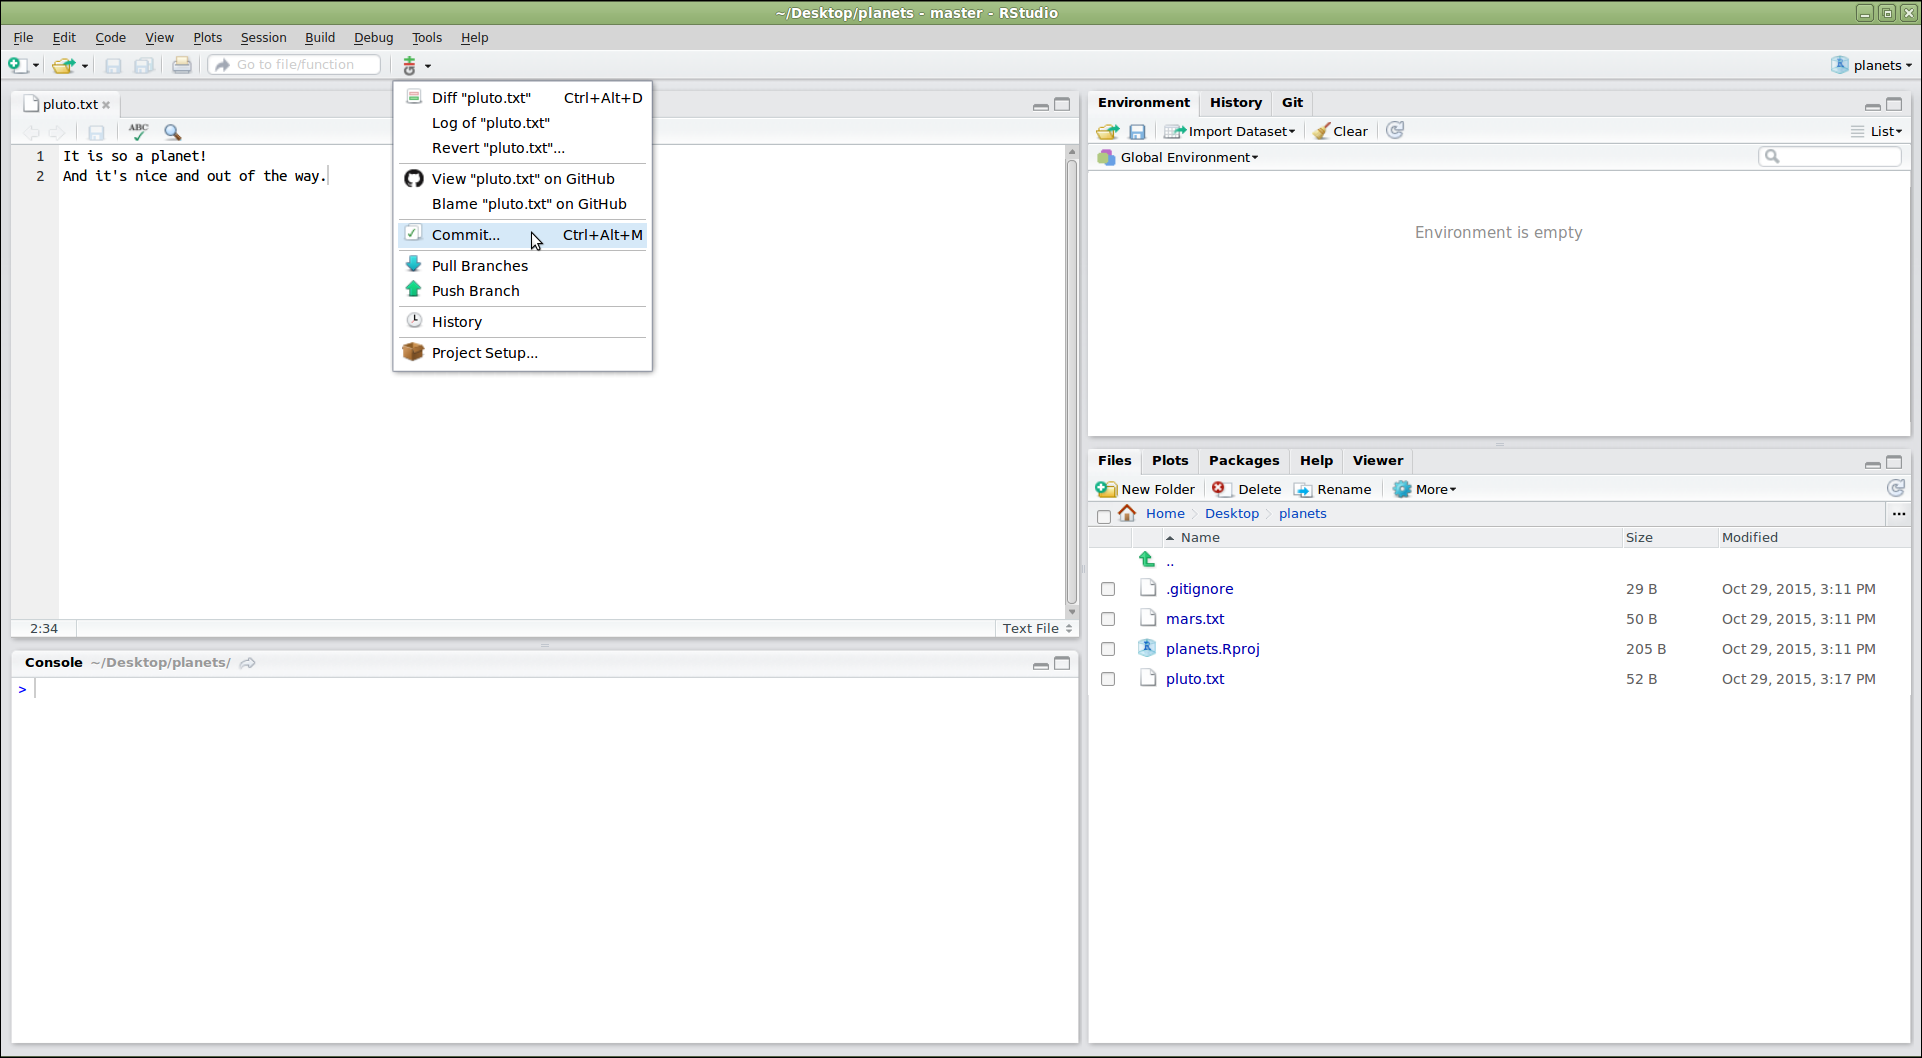
Once we have saved our edited files, we can use RStudio to commit the changes by clicking on “Commit…” in the Git menu:
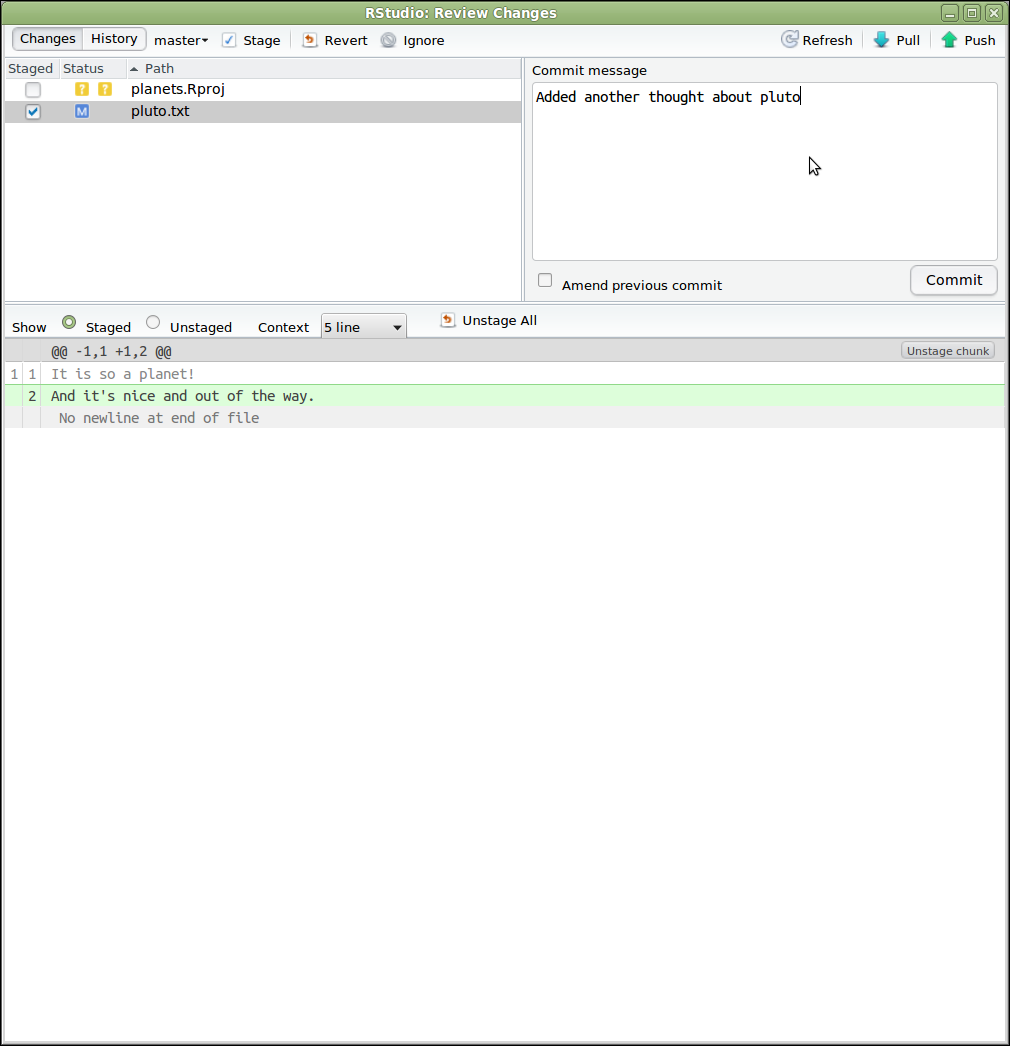
This will open a dialogue where we can select which files to commit
(by checking the appropriate boxes in the “Staged” column), and enter a
commit message (in the upper right panel). The icons in the “Status”
column indicate the current status of each file. Clicking on a file
shows information about changes in the lower panel (using output of
git diff). Once everything is the way we want it, we click
“Commit”:
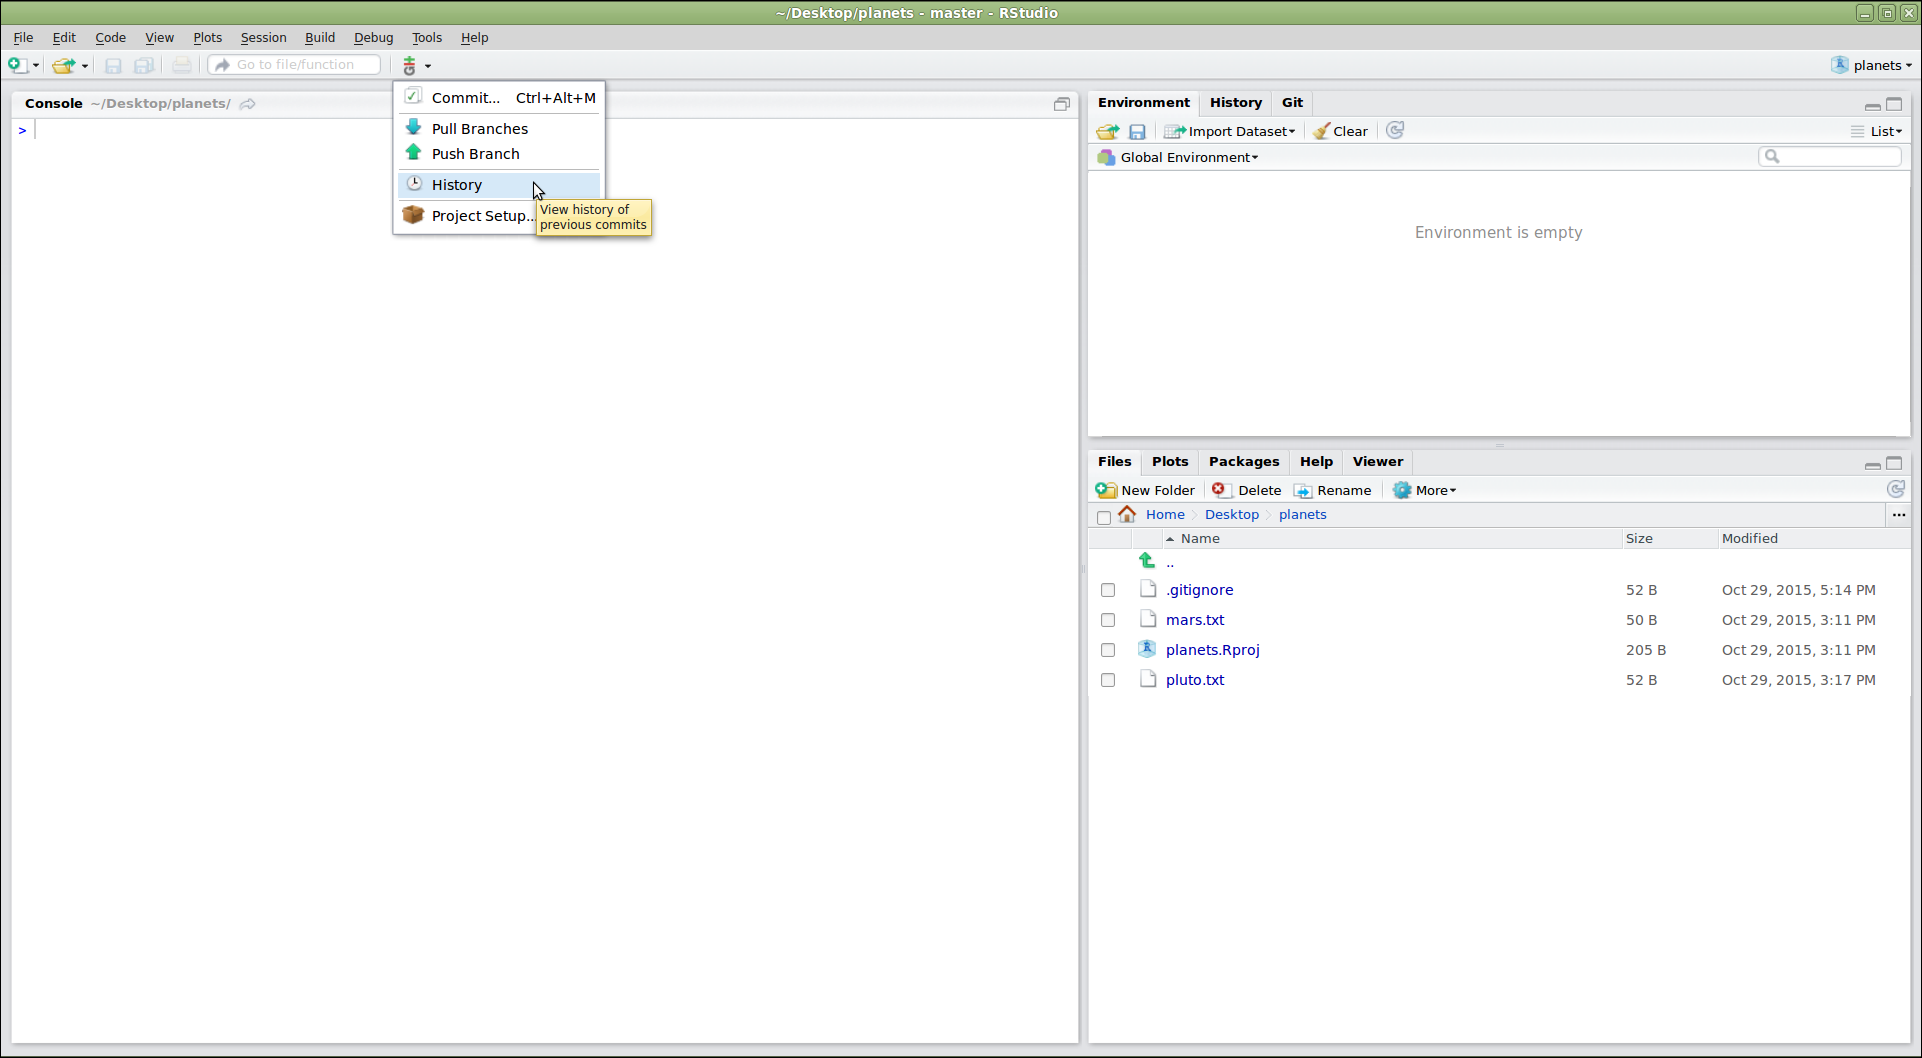
The changes can be pushed by selecting “Push Branch” from the Git menu. There are also options to pull from the remote repository, and to view the commit history:
Are the Push/Pull Commands Grayed Out?
Grayed out Push/Pull commands generally mean that RStudio doesn’t
know the location of your remote repository (e.g. on GitHub). To fix
this, open a terminal to the repository and enter the command:
git push -u origin main. Then restart RStudio.
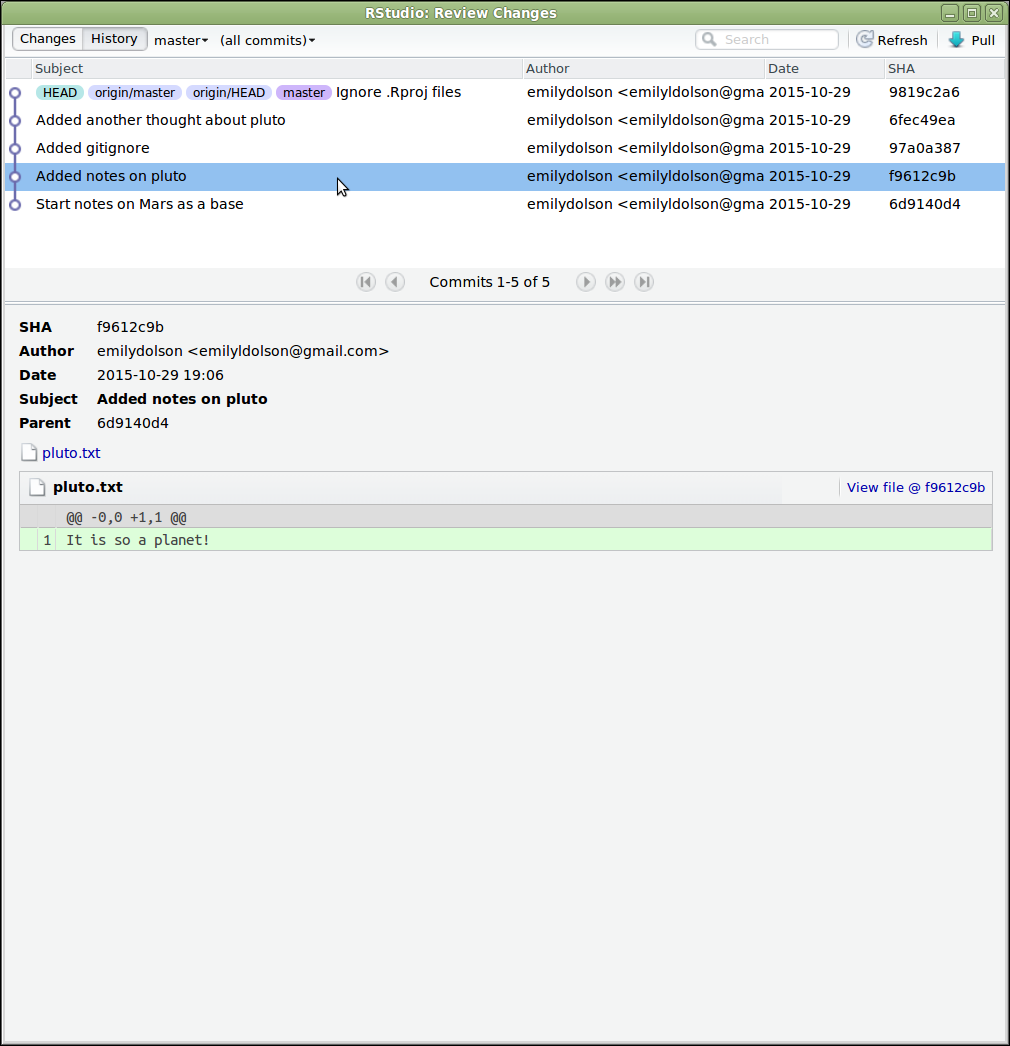
If we click on “History”, we can see a graphical version of what
git log would tell us:
Now that you’ve confirmed your commit history locally using the Git pane in RStudio, you can head over to GitHub to see the same history reflected in your repository online.
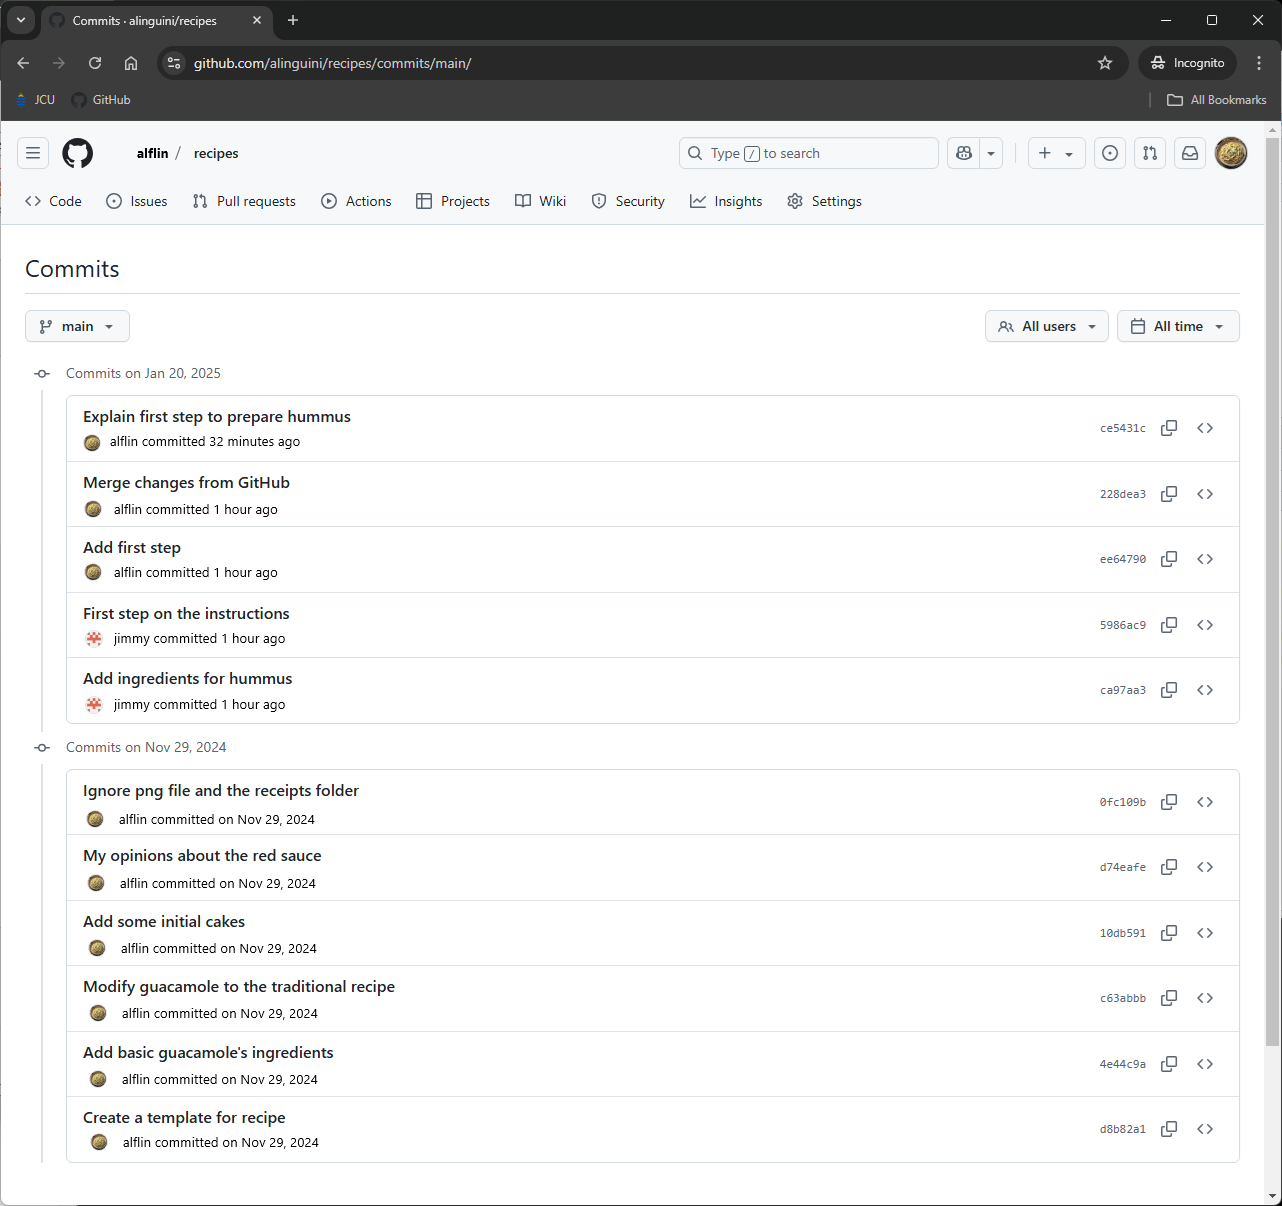
To view it, go to your repository page and click on the “Commits” link near the top.
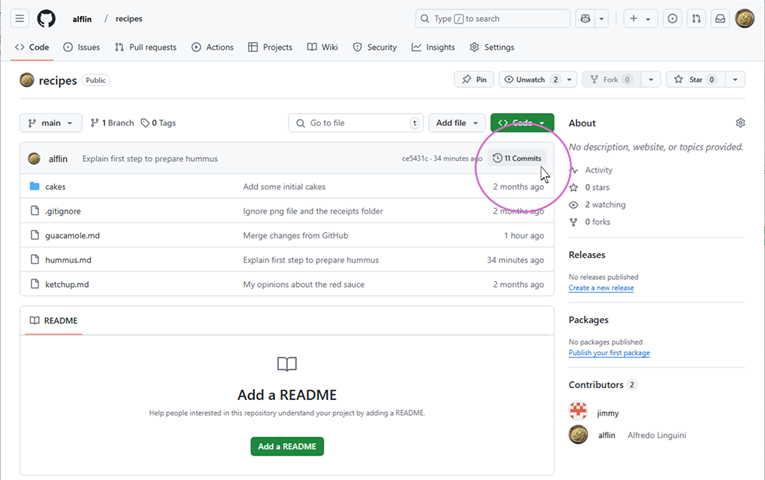
This will open a list of all commits, showing who made each change and when.
After seeing how your commit history appears on GitHub, you can be confident that your changes have been successfully pushed and recorded.
Next, let’s take a look at how RStudio quietly helps manage your
repository by automatically updating the .gitignore
file.
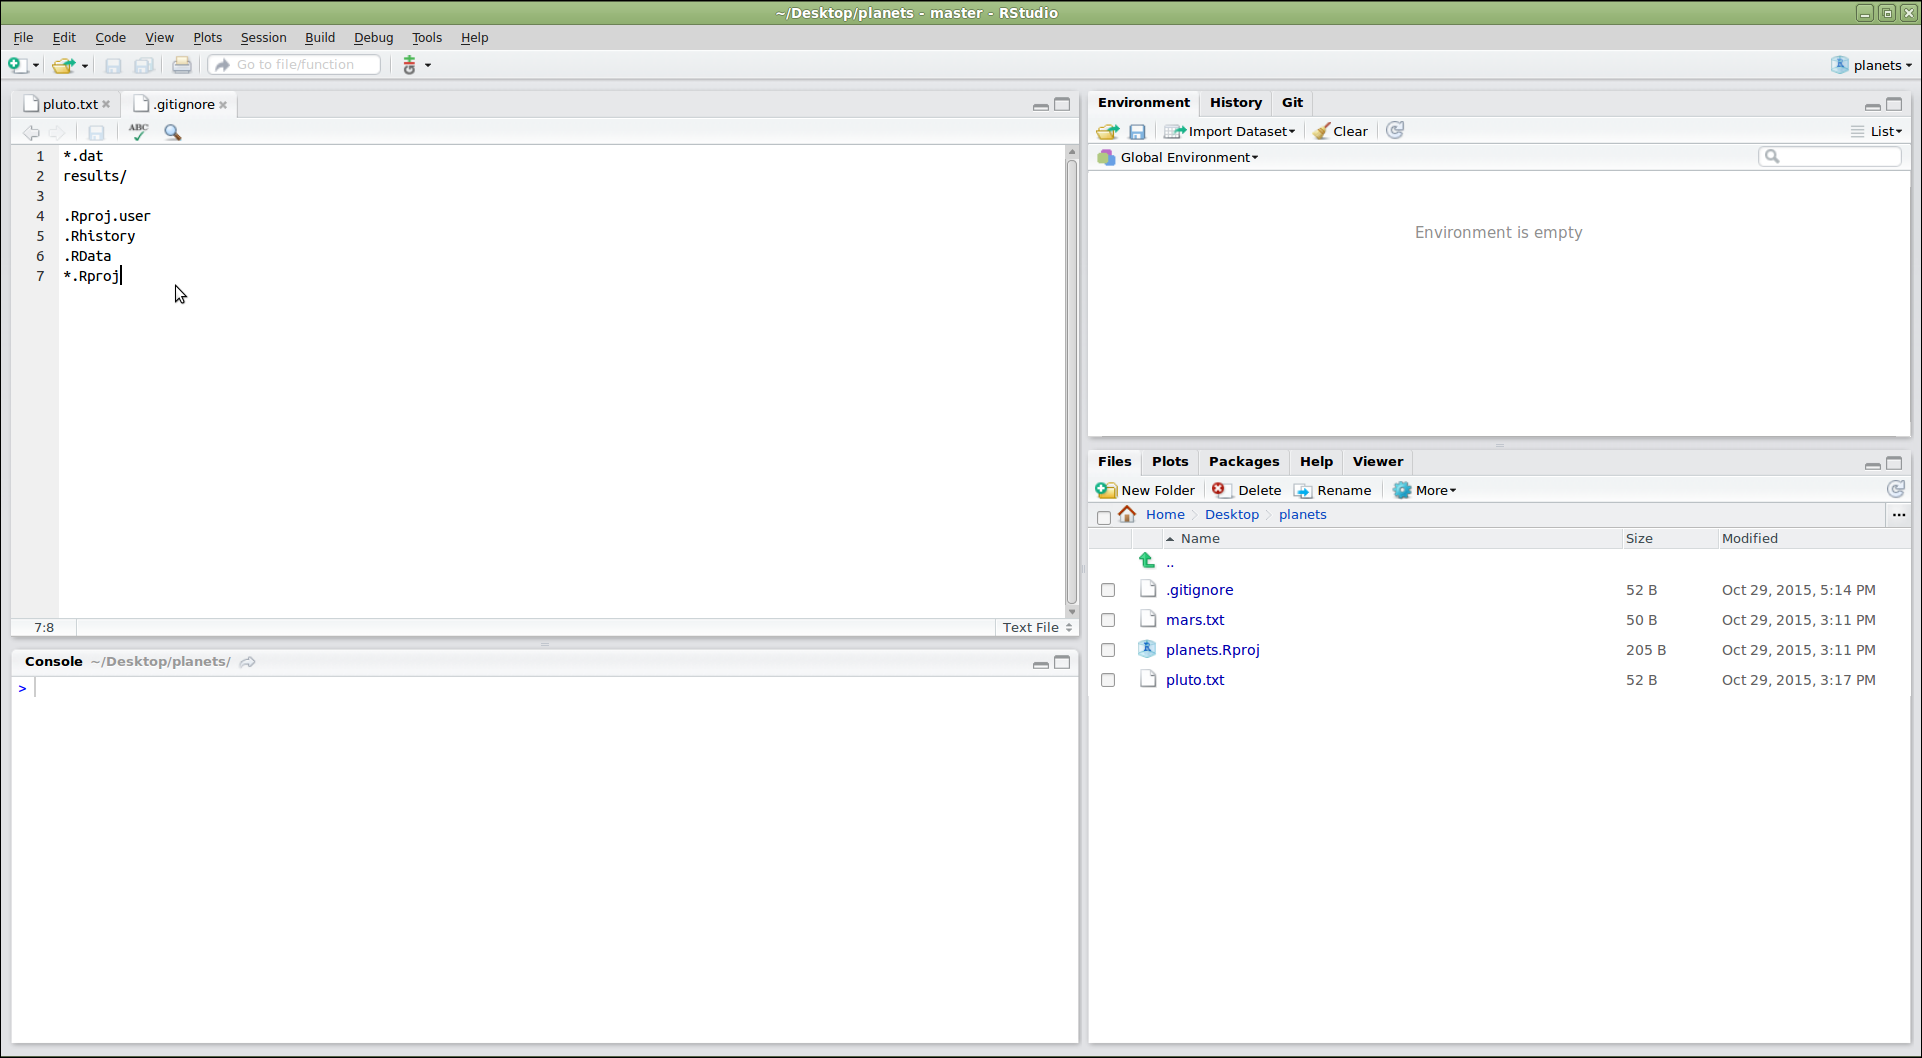
When you create a New Project in RStudio, it generates an
*.Rproj file and a hidden folder called .Rproj.user. These
are used to store project-specific settings and user preferences.
RStudio recognizes that these files typically shouldn’t be tracked in
version control, so it automatically adds .Rproj.user to
your existing .gitignore file.
Notice that the .gitignore file was modified and appears
as a changed file in the Git tab on the right-hand side panel.
Push the .gitignore changes to GitHub
Consider adding other files to be ignored, such as recipes.Rproj,
.Rhistory and .RData, and complete the process for saving RStudio’s
.gitignore file changes to your remote repository.
There are many more features in the RStudio Git menu, but these should be enough to get you started!
- Using RStudio’s Git integration allows you to version control a project over time.